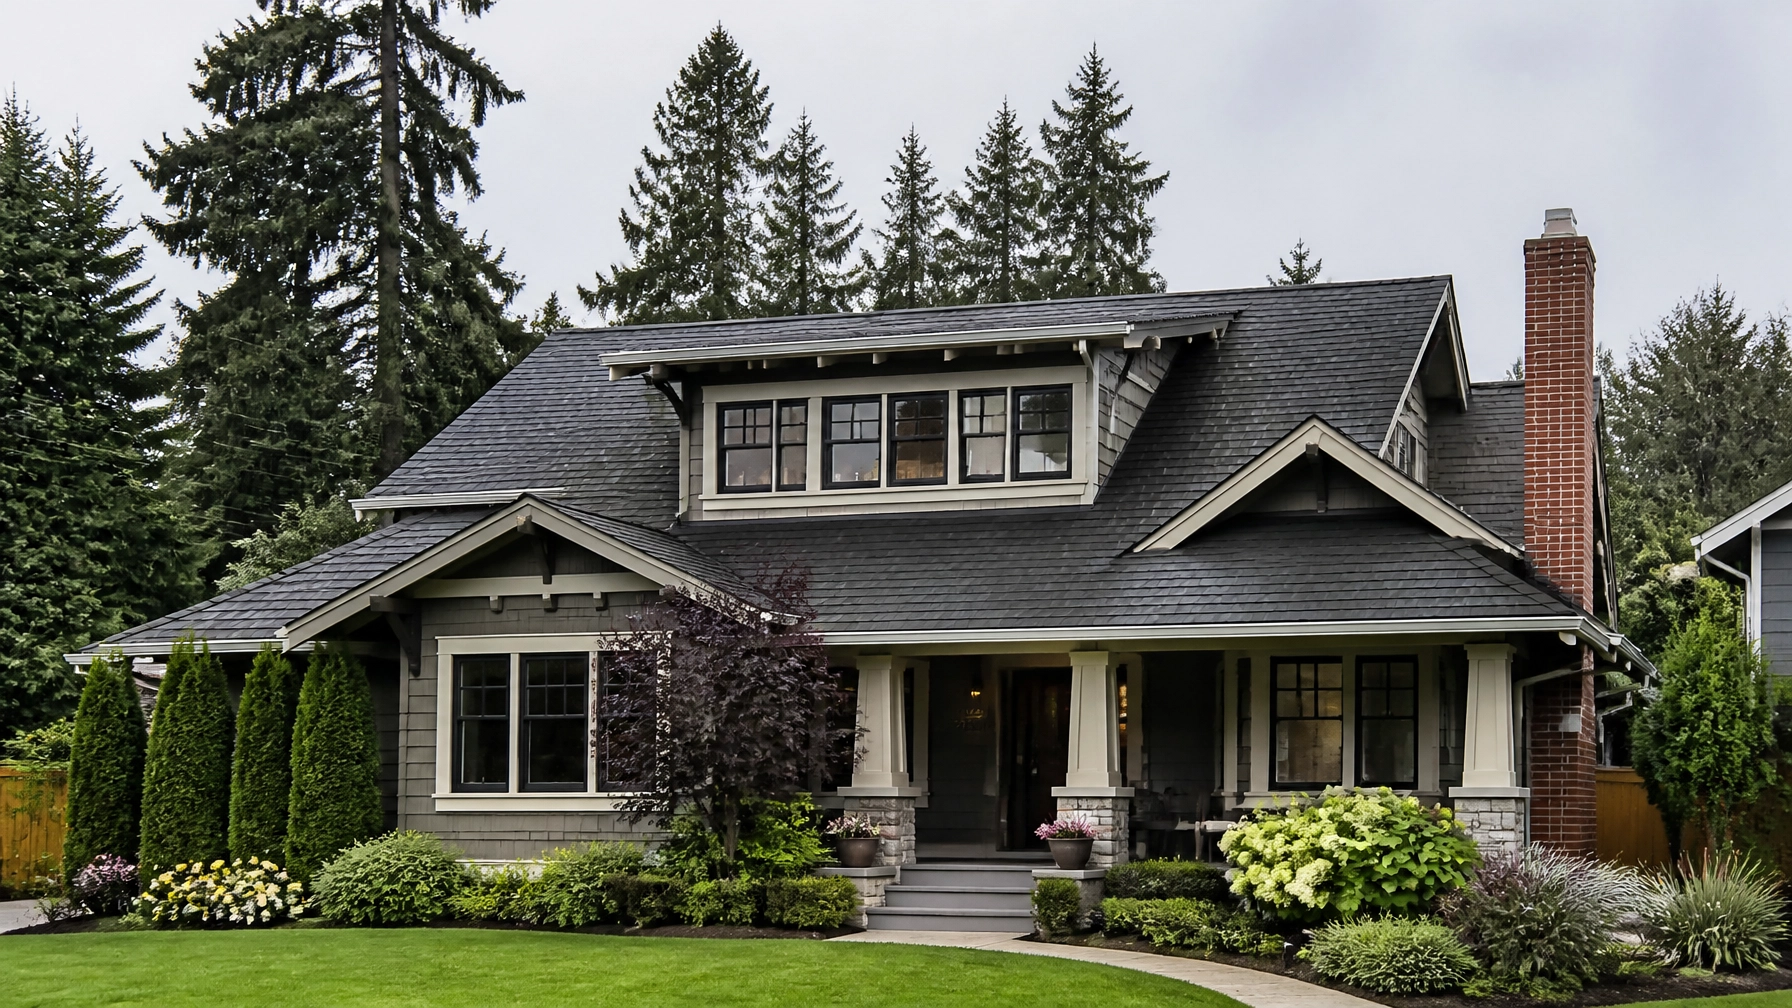
Navigating the intersection of Pacific Northwest weather and insurance bureaucracy is a specialized skill. For Seattle homeowners in 2026, the stakes are higher than ever. With the average Seattle roof replacement cost 2026 hovering between $12,000 and $30,000, understanding how to leverage your homeowners' insurance policy isn't just helpful: it’s a financial necessity.
This masterclass breaks down the technical, legal, and practical steps required to secure a full roof replacement through insurance in the Puget Sound region. From identifying "hidden" wind damage to navigating Washington’s strict contractor regulations, here is the definitive guide to getting your roof covered this year.
The 2026 Seattle Roofing Landscape: Costs and Realities
The roofing market in Seattle has evolved. Labor shortages and material logistics have pushed the roof replacement cost Washington state homeowners face to new heights. Currently, you can expect to pay anywhere from $6 to $17 per square foot, with an industry average of approximately $10 per square foot for a standard architectural shingle installation.
Typical Price Tiers for Seattle Residential Roofs:
- Budget (Basic 3-Tab Shingles): $10,000 – $15,000
- Popular (Architectural/Composition Shingles): $14,000 – $25,000
- Premium (Standing-Seam Metal or Cedar Shake): $28,000 – $45,000+
While these numbers may seem daunting, many Seattle homeowners are sitting on valid insurance claims without even knowing it. The key lies in identifying "sudden and accidental" damage caused by the region's unique weather patterns.
Identifying Seattle-Specific Storm Damage
In Seattle, damage rarely looks like a giant hole in your ceiling. Instead, it’s a slow degradation caused by high-velocity wind events and the occasional (but devastating) hailstorm.
1. Wind Damage (The "Silent" Killer)
Seattle’s frequent windstorms often cause shingles to lift. Even if the shingle doesn't fly off the roof, the "seal" is broken. Once the adhesive strip is compromised, the shingle is no longer watertight.
- What to look for: Lifted, creased, or missing shingles.
- The Insurance Standard: Most insurers recognize a creased shingle as a total functional failure, necessitating replacement.
2. Hail Damage (The "Bruise")
While less common than in the Midwest, Seattle hailstorms in 2025 and early 2026 have left many roofs with "circular bruises." These are impact points where the granules have been knocked off, exposing the underlying fiberglass mat to UV rays.
- What to look for: Small, dark, circular indentations or "bruises" on shingles, or dents in metal flashing and gutters.
3. Moss and Algae (Maintenance vs. Damage)
Seattle is famous for moss. It is important to note that insurance does not cover moss removal or damage caused by neglect. However, if a storm damages a roof that happens to have moss, the insurance must still cover the storm-related portion.

Step-by-Step: Filing a Seattle Roof Insurance Claim
If you suspect damage, you must act decisively. Most policies in Washington require you to file a claim within 60 to 180 days of the "date of loss" (the specific storm event).
Step 1: Initial Documentation
Do not get on your roof. In the rain-slicked PNW, this is a major safety hazard. Instead:
- Take photos of the roof from the ground.
- Document any interior leaks or water stains on ceilings.
- Save news reports or weather app screenshots of high-wind events in your zip code.
Step 2: Get a Professional Inspection
Before calling your insurance agent, call a Seattle roofing contractor. You want a professional who can provide a detailed damage report to back up your claim. A qualified contractor will provide a line-item estimate, often using Xactimate: the same software used by insurance adjusters.
Step 3: Open the Claim
Contact your insurer and provide the date of the storm. Avoid using vague language like "I think it’s just old." Use specific, factual terms: "I have observed wind-lifted shingles and interior leaking following the windstorm on [Date]."
Step 4: The Adjuster Meeting
The insurance company will send an adjuster to verify the damage. Crucial Tip: Always have your contractor present during this visit. Your contractor acts as your advocate, pointing out damage the adjuster might overlook, such as compromised flashing or specific code-required upgrades.
Understanding Your Policy: RCV vs. ACV
The amount of money you receive depends entirely on your policy type. This is where many homeowners get a "sticker shock" surprise.
Replacement Cost Value (RCV) – The Preferred Option
With an RCV policy, the insurer pays for the full cost of replacing your roof at today’s prices (minus your deductible). They usually pay in two installments:
- The ACV Payment: The depreciated value of the roof.
- The Recoverable Depreciation: The remaining balance paid once the work is completed and invoiced.
Actual Cash Value (ACV) – The Budget Option
If you have an ACV policy, the insurer only pays what your roof is worth now. If your 20-year-old roof is at the end of its life, they will subtract 20 years of "usage" from the payout. You will be responsible for the significant gap between the payout and the actual Seattle roof replacement cost 2026.

The "Supplement" Game: What to Do If the Offer Is Too Low
It is common for an initial insurance estimate to be lower than the real-world cost of labor in Seattle. This is where "supplementing" comes in. Your contractor can submit a supplemental claim for items the adjuster missed or for necessary roofing materials that are required by local building codes.
Common Seattle Supplements:
- Ice and Water Shield: Often required by code in valleys and eaves.
- Drip Edge: Prevents water from wicking back into the fascia.
- Venting Upgrades: Many older Seattle homes have insufficient attic ventilation, which must be corrected during a replacement to meet modern codes.
Vetting Your Seattle Roofing Contractor
In Washington, the "Wild West" of roofing is curtailed by strict Department of Labor & Industries (L&I) rules. Never hire a contractor who cannot provide the following:
- L&I Registration: They must be a registered contractor in the state of Washington.
- Bonding: A minimum $15,000 bond.
- Insurance: At least $200,000 in public liability and $50,000 in property damage insurance.
Verify their status on the WA L&I website before signing anything. Hiring an unlicensed contractor can lead to your insurance claim being denied or leaving you liable for any on-site injuries.
Premium Materials: Is Metal the Right Choice for Seattle?
While most claims are for asphalt shingles, many homeowners choose to "upgrade" during a replacement. A Seattle roof insurance claim will typically pay for "like-kind and quality." If you want to move from shingles to a standing-seam metal roof, you will simply pay the difference in material and labor costs.

Why Metal is Trending in Seattle 2026:
- Longevity: 50+ year lifespan vs. 20-25 for shingles.
- Moss Resistance: Metal doesn't provide the organic surface moss needs to thrive.
- Shedding: Effectively sheds Seattle's heavy rainfall and occasional snow.
Legal Protections and Disputes
If you feel your insurance company is acting in bad faith or lowballing your claim unfairly, you have recourse. The Washington State Office of the Insurance Commissioner is an aggressive advocate for homeowners. You can file a formal complaint if the insurer is:
- Delaying payment without cause.
- Refusing to acknowledge clear storm damage.
- Failing to follow Washington’s "matching" laws (which sometimes require a full replacement if a matching shingle for a repair cannot be found).
Summary: Your 60-Second Action Plan
If you think your roof has reached the end of its life or has been hit by a storm, don't wait for a leak to appear.
- Get an Instant Estimate: Use our satellite-powered calculator to see your projected Seattle roof replacement cost 2026 in under 60 seconds.
- Document the Storm: Find the date of the last major wind or hail event in your area.
- Consult a Pro: Get a verified local contractor to perform a "no-contact" damage assessment.
- File the Claim: Armed with data, contact your insurer to start the process.
Replacing a roof is one of the largest investments you'll make in your home. By mastering the insurance process, you can protect your asset and your bank account simultaneously.
Leave a Reply